Make a Map, and Share
Create the Map and add places
This page describes how to make your custom map, then add lists of places. Be sure to complete all the previous steps -- research and organize your information into lists converted to csv -- before beginning this phase.
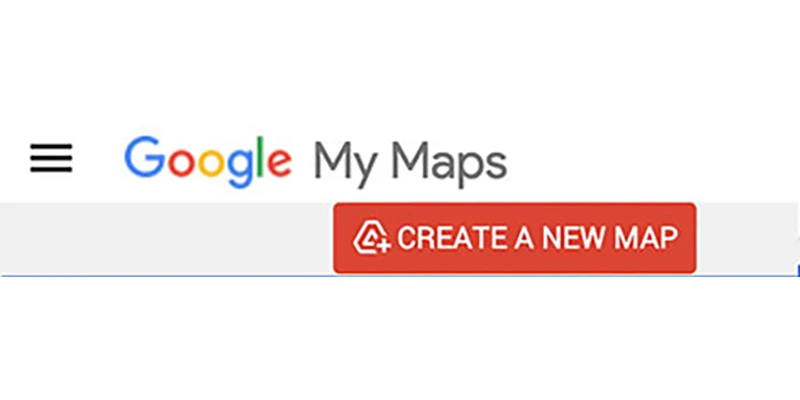
To make a new map, use your computer and sign in to Google My Maps with this link. There you can open a new, empty map.
On GMM create new layer then click import.
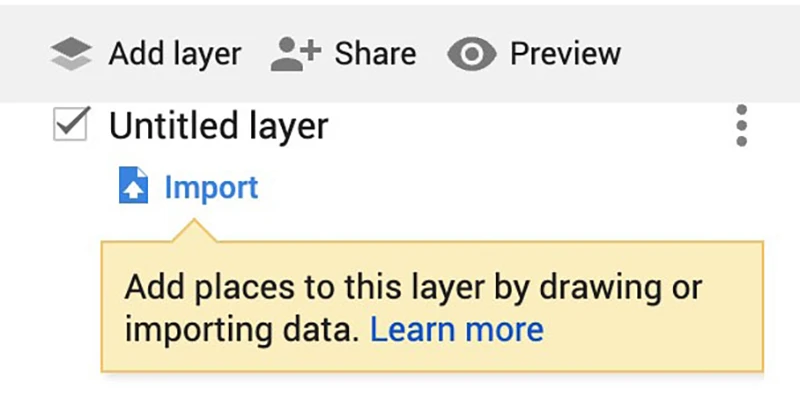
Click the add layer button, and a new layer will be added to your map, listed in the sidebar. Then click the import label.
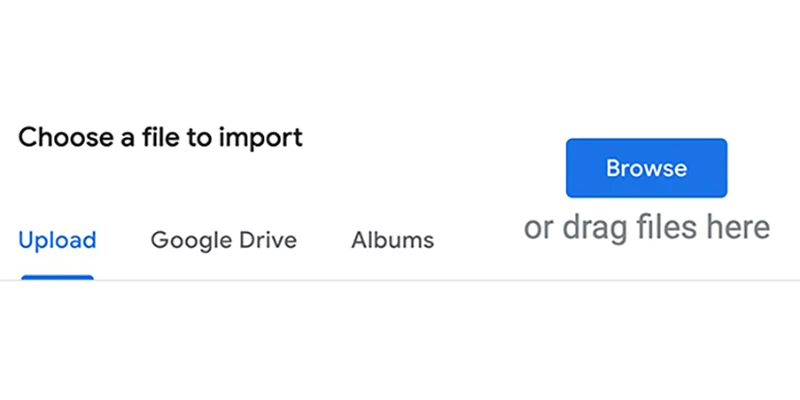
Drag in CSV
Drag the csv file from your computer directly to that import window. After you drag the csv into the import window a menu pops up requesting you to "Choose columns" and select boxes for items to include.
You can add up to 10 layers per map, which can be toggled on and off to limit the view.
You will get Errors:
Sometimes you get an error that a few rows "couldn't be shown" so click "Open data" and fix them. Often all you need to do is select and double-click on the error and on the description, which can fix the problem.
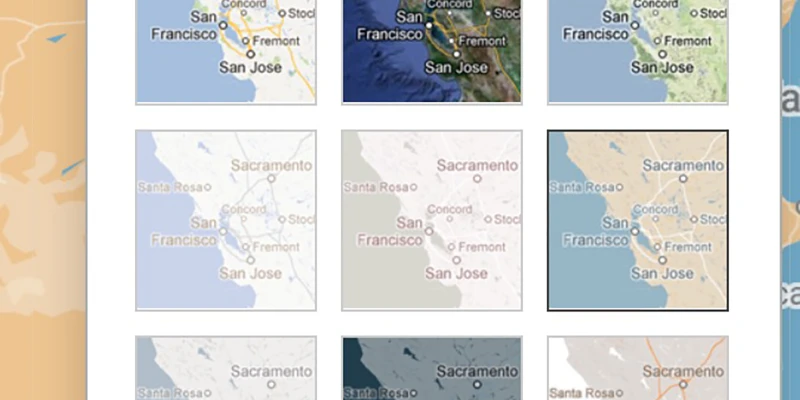
Choice of map style
There is a choice of different graphic style of map you can pick from, by clicking the "Base map" label on bottom of the sidebar.
Share your map
Be nice and share your work freely with the world. If you don't manually select share in the map information, nobody else will be able to find the map.
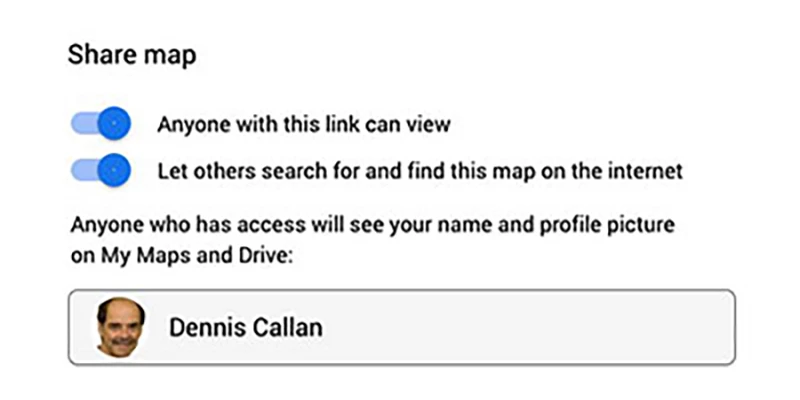
In the map you want to share, at the top of the column on the left side, click the Share icon. Select how you want to share your map.
Import map information from others:
Map data from one map can be imported into another map: Find a good map which has useful info made by others who are sharing. Click in their map's 3 dots then choose Export as KML and download kml file.
To embed map on your website:
Open in Google My Map. Click three buttons in top of list panel on left side of frame. Select embed on my site. Copy code. Paste into code of your website.